
Chef Takumi
Anpan (あんぱん)
Anpan is not a pastry trick. It is soft bread, sweet azuki, and a careful seal, so the bean paste stays centered while the bun rises round and tender.
A cooking platform built around craft, culture, and the stories behind what we eat.
Created by
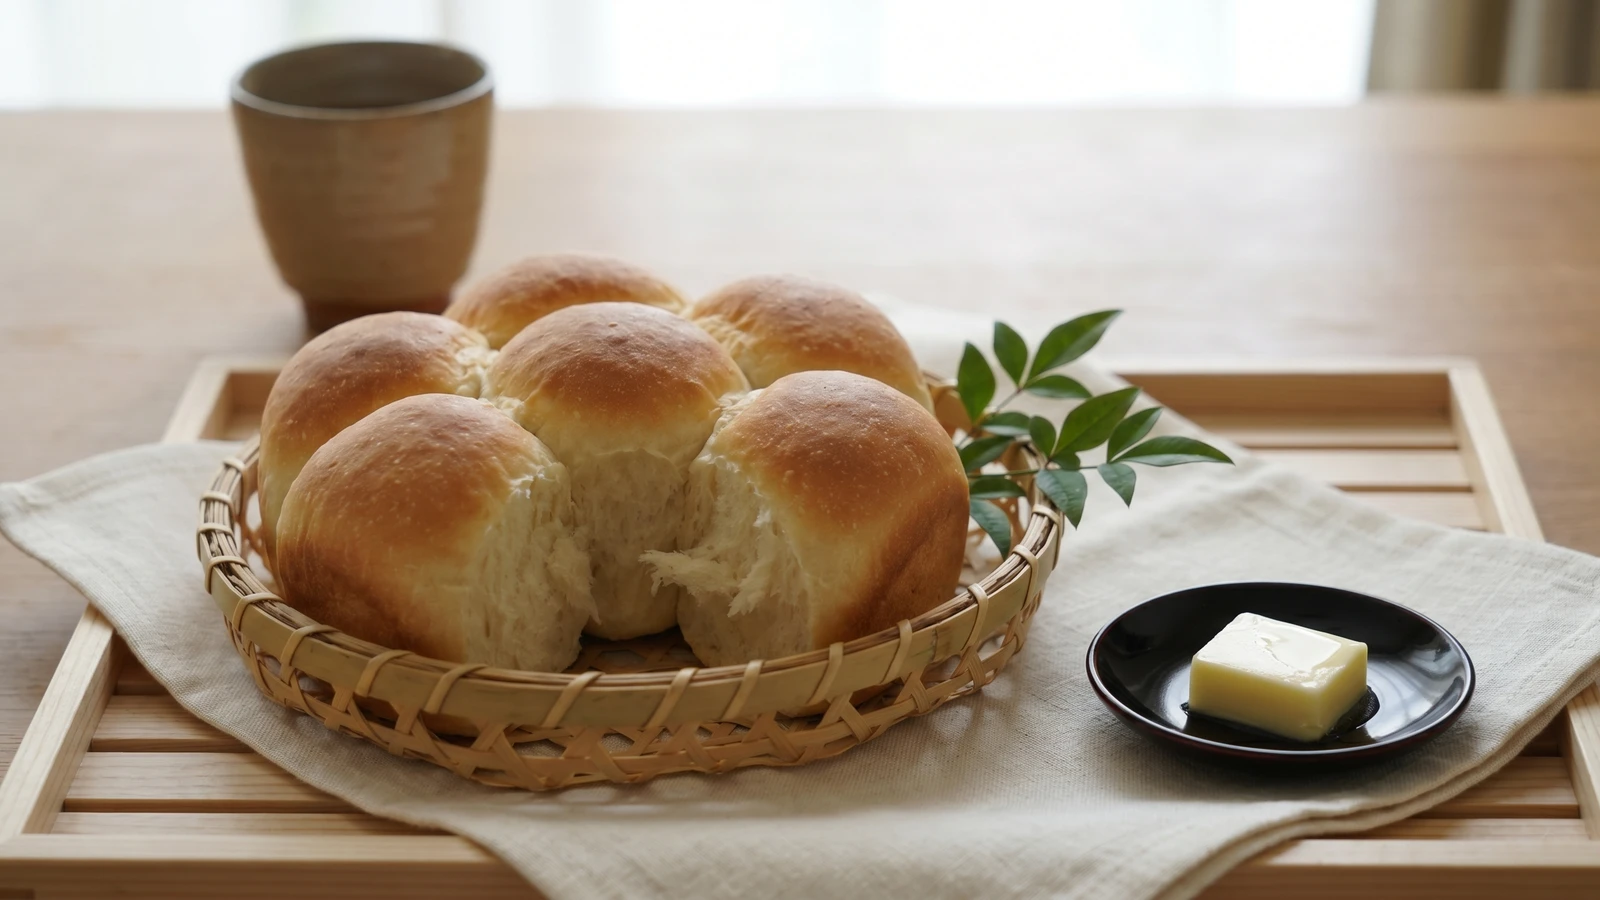
Chigiri-pan is bread made small on purpose: soft enriched dough portioned into neat balls, crowded in a square tin, and baked until every tender roll tears away with its own golden edge.
Chigiri-pan begins with a pleasant little contradiction: you work for neatness so the bread can be torn apart. Sixteen small balls of dough sit shoulder to shoulder in a square tin, and in the oven they rise into one soft loaf that gives way by hand. This is the sort of bread many Japanese home cooks buy at the panya counter, but a domestic oven can make it honestly if you give the dough time and equal pieces.
People hesitate at yeast dough because it seems alive in an inconvenient way. It is alive, yes, but not cleverer than you. The first secret here is yudane (湯種), flour scalded with boiling water. The heat gelatinizes the starch before the dough is mixed, so that flour holds water instead of letting it bake away. That is why the crumb stays soft the next day, not only proud on the day you bake it.
Japanese bread baking has two plain foundations. The straight method (ストレート, straight) mixes the dough in one sequence and is useful when the clock is bossy. Yudane takes five extra minutes and gives you the soft, pull-apart texture we want here. Chigiri-pan is not old kaiseki food, of course. It belongs to the panya, the weekday table, the lunch box, and the late cup of tea, which is a serious territory of its own.
The detail that decides it is the rounding. Weigh the pieces, tuck each ball under itself until the skin is smooth, then set them close but not crushed. Weak rounding gives you lopsided rolls; good tension gives each one a thin golden edge and a tender white tear. Leave the loaf a little room, even in the tin. Bread behaves better when it isn't bullied.
Chigiri-pan is a modern Japanese panya and home-baking form; its name comes from chigiru, to tear off, because the loaf is made of joined rolls pulled apart at the table. The style became highly visible in Japan around 2014, when home-baking books, blogs, and trayed decorative versions made the 18 cm square tin a small domestic boom. The yudane method used in many Japanese soft breads has been studied by NARO agricultural researchers, who documented how pre-gelatinized starch holds water and keeps the crumb tender for days.
Quantity
60g
for the yudane
Quantity
60g
for the yudane
Quantity
240g
for the dough
Quantity
30g
Quantity
10g
Quantity
4g
Quantity
5g
Quantity
105g
lukewarm
Quantity
1 (about 50g without shell)
beaten
Quantity
30g
softened
Quantity
1 teaspoon
for the bowl
Quantity
1 tablespoon
for brushing
Quantity
10g
melted, for brushing after baking
| Ingredient | Quantity |
|---|---|
| bread flourfor the yudane | 60g |
| boiling waterfor the yudane | 60g |
| bread flourfor the dough | 240g |
| sugar | 30g |
| skim milk powder (optional) | 10g |
| instant yeast | 4g |
| fine sea salt | 5g |
| whole milklukewarm | 105g |
| large eggbeaten | 1 (about 50g without shell) |
| unsalted buttersoftened | 30g |
| neutral oilfor the bowl | 1 teaspoon |
| whole milkfor brushing | 1 tablespoon |
| unsalted butter (optional)melted, for brushing after baking | 10g |
Put 60g bread flour in a heatproof bowl. Pour the boiling water over it all at once and stir firmly until no dry flour remains. The paste will be stiff, glossy, and a little uneven. Cover it tightly and let it cool, then refrigerate it at least 2 hours, preferably overnight. Boiling water is the point: it gelatinizes the starch before the dough is mixed, so the flour holds more water without making the dough loose.
Bring the yudane back to room temperature and tear it into small pieces. In a mixer bowl, combine the 240g bread flour, sugar, milk powder if using, yeast, and salt. Add the milk, beaten egg, and torn yudane, then mix on low speed until a shaggy dough forms and no dry flour sits at the bottom. If dry flour remains after two minutes, add milk 1 teaspoon at a time. The dough should feel tacky, not wet.
Knead on medium-low speed for 6 to 8 minutes, until the dough starts to smooth out and stretch. Add the softened butter in two or three pieces and knead another 5 to 7 minutes, until the dough is elastic, satiny, and pulls from the bowl while still clinging a little at the base. Butter goes in after the gluten has begun to form because fat coats flour and slows structure if it arrives too early.
Shape the dough into a ball and set it in a lightly oiled bowl. Cover and let it rise in a warm place, about 26 to 28 C, for 60 to 75 minutes, until doubled. Press a floured finger into the dough. The mark should fill back slowly, halfway. Enriched dough rises more slowly because sugar, egg, and butter make the yeast work harder, so let the dough answer before the clock does.
Turn the dough onto a clean bench and divide it into 16 equal pieces, about 36 to 37g each. Flatten each piece gently, tuck the edges into the center, pinch the seam, then roll seam-side down under a cupped hand until the top is smooth and lightly tight. Weighing is not fussiness here. Equal pieces proof and bake at the same pace, and a smooth skin traps the gas that gives each roll its feathery tear.
Cover the rounded pieces and rest them for 10 minutes. This short pause relaxes the gluten so the final shape won't tear. Grease an 18 cm square tin and line the bottom with parchment. Re-round any loose pieces, then set the rolls seam-side down in a 4-by-4 grid with small gaps between them. They should be close enough to meet as they rise, not crushed before they begin.
Cover the tin and proof for 45 to 60 minutes, until the rolls touch, look puffy, and rise to just under the rim of the tin. Preheat the oven to 180 C during the last 20 minutes. Brush the tops lightly with milk. Milk gives the crust a soft matte gold; egg wash would make it shinier and firmer than this bread wants.
Bake on the middle rack for 18 to 22 minutes, until the tops are pale gold and the center of the joined loaf reaches about 88 to 90 C. If the top browns too quickly, lay foil loosely over the tin. The sugar and milk brown faster than a lean dough, so you are looking for a tender crust, not a dark one.
Brush the hot tops with melted butter if you want a softer finish, then cool the bread in the tin for 10 minutes. Lift it out and let it rest at least 20 minutes before tearing. Fresh bread smells persuasive, I know, but the crumb needs a little time to set. Pull too soon and the inside turns gummy instead of soft.
1 serving (about 36g)
Culinary guides, cultural storytelling, and the editorial depth that makes cooking meaningful.
Discover Culinary ExplorerChef Takumi
Anpan is not a pastry trick. It is soft bread, sweet azuki, and a careful seal, so the bean paste stays centered while the bun rises round and tender.
Chef Takumi
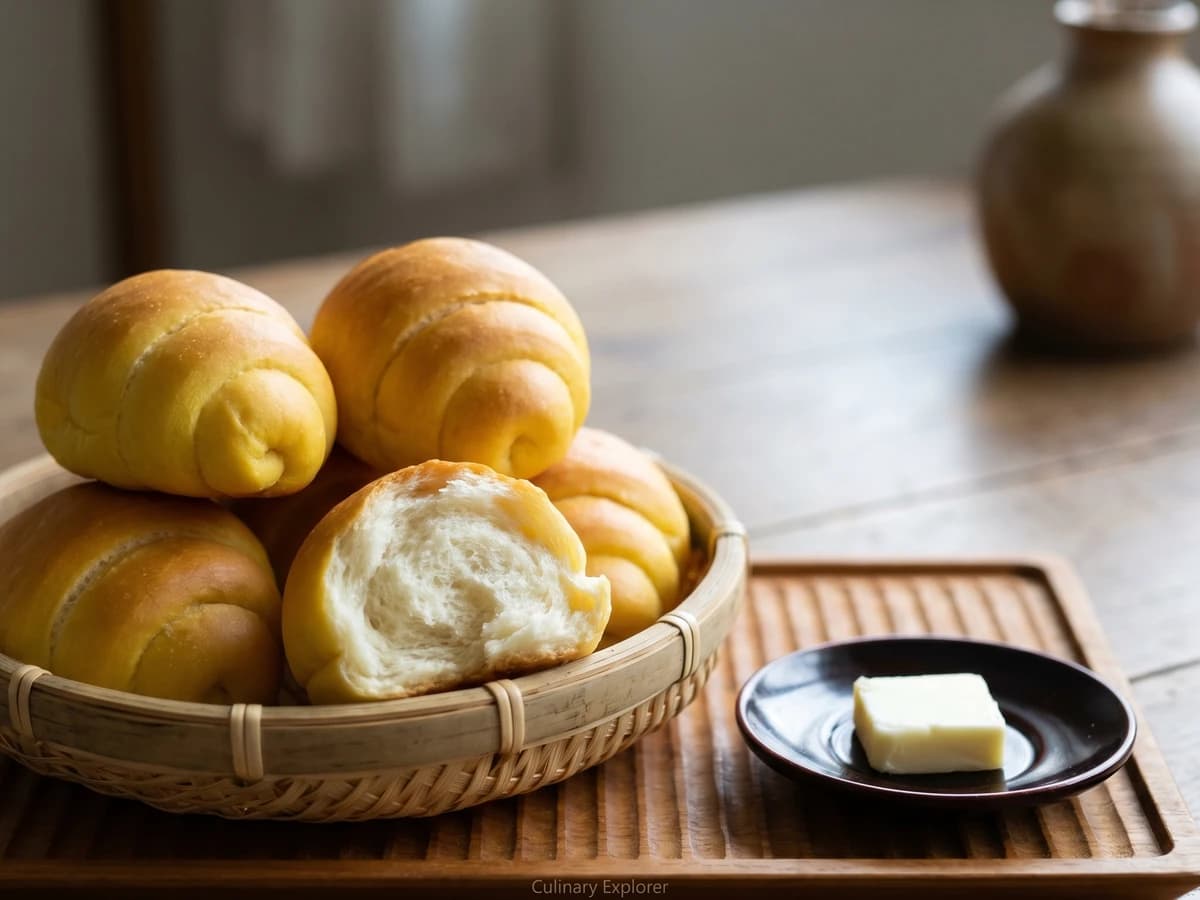
A panya staple made reachable: soft milk dough rolled wide-to-narrow into its little horn shape, proofed until light, then brushed with egg for that quiet gold crust.

Chef Takumi
Choco cornet looks clever, which is how bakery bread frightens sensible people. Wrap a soft rope around a cone, bake it golden, then pipe in chocolate cream only after the shell is cool.

Chef Takumi
Cream pan asks for two calm things: a custard thick enough to stay put, and a soft dough sealed with patience. Do that, and the little glove-shaped bun behaves.