
Chef Juliana
Ambrosia Baiana
You think curdled milk means you ruined dessert. Good. Tonight you'll do it on purpose, with lemon, yolks, cravo, and sugar, until the pot turns into golden gruminhos.
A cooking platform built around craft, culture, and the stories behind what we eat.
Created by
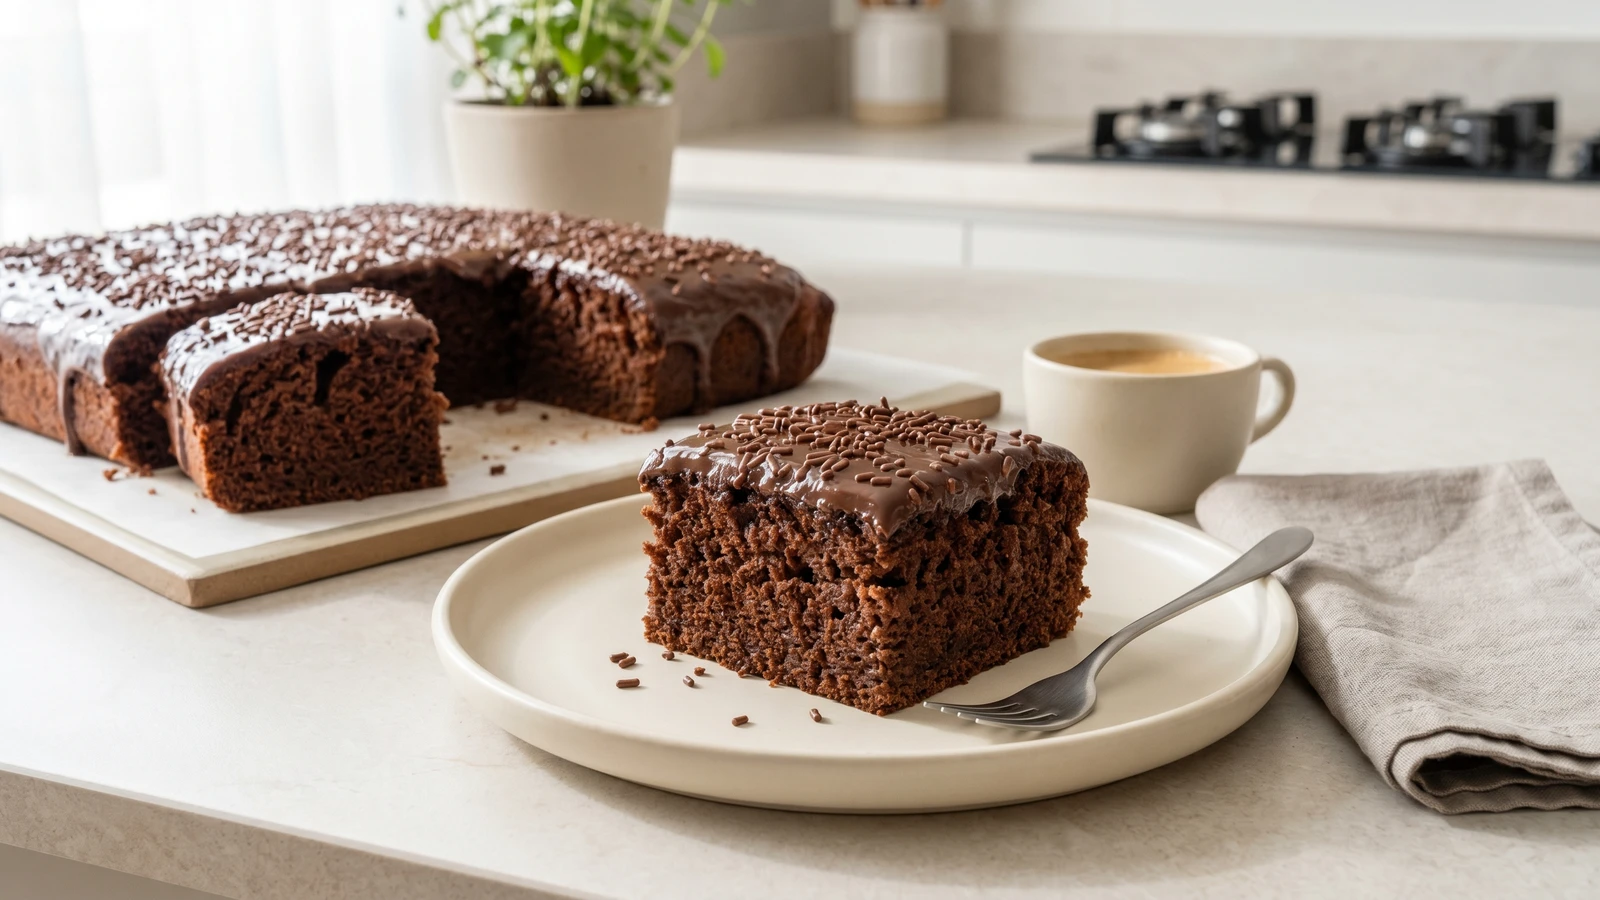
You don't need a bakery hand for this cake. Cocoa, hot water, oil, and a warm chocolate calda do the work. Anota aí: moist cake is method, not magic.
You think, quietly, isso não é pra mim. Cake people know something you don't. They measure by instinct, they see the batter and understand its soul, they were born with some secret spoon in the hand. No. Cozinhar não é dom, é um aprendizado. Baking too.
I learned cake the same way I learned dinner: late, embarrassed, with a cheap caderno open on the counter and a lot of wrong pans behind me. Bolo Nega Maluca is one of those receitas que funcionam because it doesn't ask you to cream butter or separate eggs or pretend you're in a pastry school. You mix the dry things properly, add oil for tenderness, hot water to wake up the cocoa and loosen the batter, and pour the calda over the cake while it's still warm so it sinks in instead of sitting there like a shiny hat.
And yes, this belongs beside the pê-efe in the life of a Brazilian house. Rice, beans, a simple meat or egg, something green, and then a square of chocolate cake after lunch because comida de verdade is not punishment. The everyday plate keeps a country fed. The cake keeps people lingering at the table.
The only rule I won't bend is this: use real unsweetened cocoa, not chocolate drink mix. A Tuesday is a Tuesday, and I'll give you shortcuts when they save your back. But a packet of sugar pretending to be chocolate is not a shortcut. It's a little lie in a can.
Bolo Nega Maluca became common in Brazilian home kitchens in the second half of the twentieth century, when oil-based cakes, cocoa, and quick stovetop caldas fit the budget and rhythm of family cooking. The name is widely used but carries dated racial language, so many cooks now simply call it bolo de chocolate molhadinho while keeping the same practical formula. What marks this cake in Brazil is the hot-water batter and the warm chocolate calda poured over the baked cake, a home method built for moisture, not decoration.
Quantity
2 cups
Quantity
1 1/2 cups
Quantity
1/2 cup
Quantity
1 tablespoon
Quantity
1/2 teaspoon
Quantity
3 large
Quantity
3/4 cup
Quantity
1 cup
Quantity
1 teaspoon
Quantity
1/2 cup
Quantity
1/4 cup
Quantity
1/4 cup
Quantity
3 tablespoons
Quantity
1 pinch
| Ingredient | Quantity |
|---|---|
| all-purpose flour | 2 cups |
| sugar | 1 1/2 cups |
| unsweetened cocoa powder | 1/2 cup |
| baking powder | 1 tablespoon |
| salt | 1/2 teaspoon |
| eggs | 3 large |
| neutral oil | 3/4 cup |
| hot water | 1 cup |
| vanilla extract (optional) | 1 teaspoon |
| sugar, for the calda | 1/2 cup |
| unsweetened cocoa powder, for the calda | 1/4 cup |
| milk, for the calda | 1/4 cup |
| butter, for the calda | 3 tablespoons |
| salt, for the calda | 1 pinch |
Heat the oven to 180°C (350°F). Grease a 23 x 33 cm baking pan with oil or butter, then dust it with a little flour or cocoa. Tap out the excess. This thin coat gives the cake something to release from, so you don't bake a beautiful cake and leave half of it stuck to the pan like a tragedy.
In a large bowl, whisk the flour, sugar, cocoa, baking powder, and salt until the color is even and you don't see pale streaks of flour. Do this before any liquid enters the bowl, because cocoa loves to hide in bitter little pockets. Break them now and the batter will taste like chocolate all the way through.
Make a well in the center and add the eggs, oil, vanilla if using, and hot water. Whisk from the middle outward until the batter is smooth, shiny, and thin enough to pour in a ribbon. The hot water blooms the cocoa and loosens the batter; the oil keeps the crumb tender after it cools. If it looks runnier than a butter cake, good. That's the point.
Pour the batter into the prepared pan and bake for 35 to 40 minutes. Start checking at 35. The top should spring back when you press it gently, and a toothpick in the center should come out with a few moist crumbs, not wet batter. Dry crumbs mean you waited too long, and molhadinho cake doesn't forgive showing off.
While the cake bakes, put the calda sugar, cocoa, milk, butter, and pinch of salt in a small pan over medium heat. Stir until the butter melts, then let it bubble gently for 2 to 3 minutes, until glossy and slightly thick but still pourable. Stop there. Cook it too far and you get candy, not a sauce that can sink into the cake.
When the cake comes out, wait 5 minutes, then poke holes all over the top with a fork or skewer. Pour the warm calda slowly over the warm cake, especially near the edges and center. Warm cake drinks. Cold cake shrugs. This is how the calda gets into the crumb instead of just sitting on top looking pleased with itself.
Let the cake rest at least 20 minutes before cutting into squares. The surface should look glossy and set, and the knife should come away with a little chocolate on it, not a flood of sauce. That rest lets the crumb settle and the calda find its place. Then cut, serve, and take the corner piece if you're the cook. Fair payment.
1 serving (about 105g)
Culinary guides, cultural storytelling, and the editorial depth that makes cooking meaningful.
Discover Culinary ExplorerChef Juliana
You think curdled milk means you ruined dessert. Good. Tonight you'll do it on purpose, with lemon, yolks, cravo, and sugar, until the pot turns into golden gruminhos.

Chef Juliana
You are not ruining the milk. You're curdling it on purpose, slowly, until sugar, eggs, cinnamon, and patience turn cheap ingredients into dessert.

Chef Juliana
You think curdled milk means failure. Not here. Milk, yolks, sugar, and lemon cook into golden curds in amber whey, a Minas sweet where the ponto teaches the whole recipe.

Chef Juliana
You already trust rice for dinner. Trust it for dessert: cook it gently with milk, coconut, and canela until each grain turns soft, creamy, and impossible to blame on lack of talent.