
Chef Juliana
Ambrosia Baiana
You think curdled milk means you ruined dessert. Good. Tonight you'll do it on purpose, with lemon, yolks, cravo, and sugar, until the pot turns into golden gruminhos.
A cooking platform built around craft, culture, and the stories behind what we eat.
Created by
You think a good cake takes talent. It takes a bowl, a whisk, a hot oven, and the discipline to stop mixing before the crumb turns tough.
You know that little voice saying, isso não é pra mim? I know her. Mine once stood in front of a bowl with the confidence of a wet dishrag. I learned this as a grown woman, writing every step in my caderno because nobody is born knowing when batter has pegar ponto. Cozinhar não é dom, é um aprendizado.
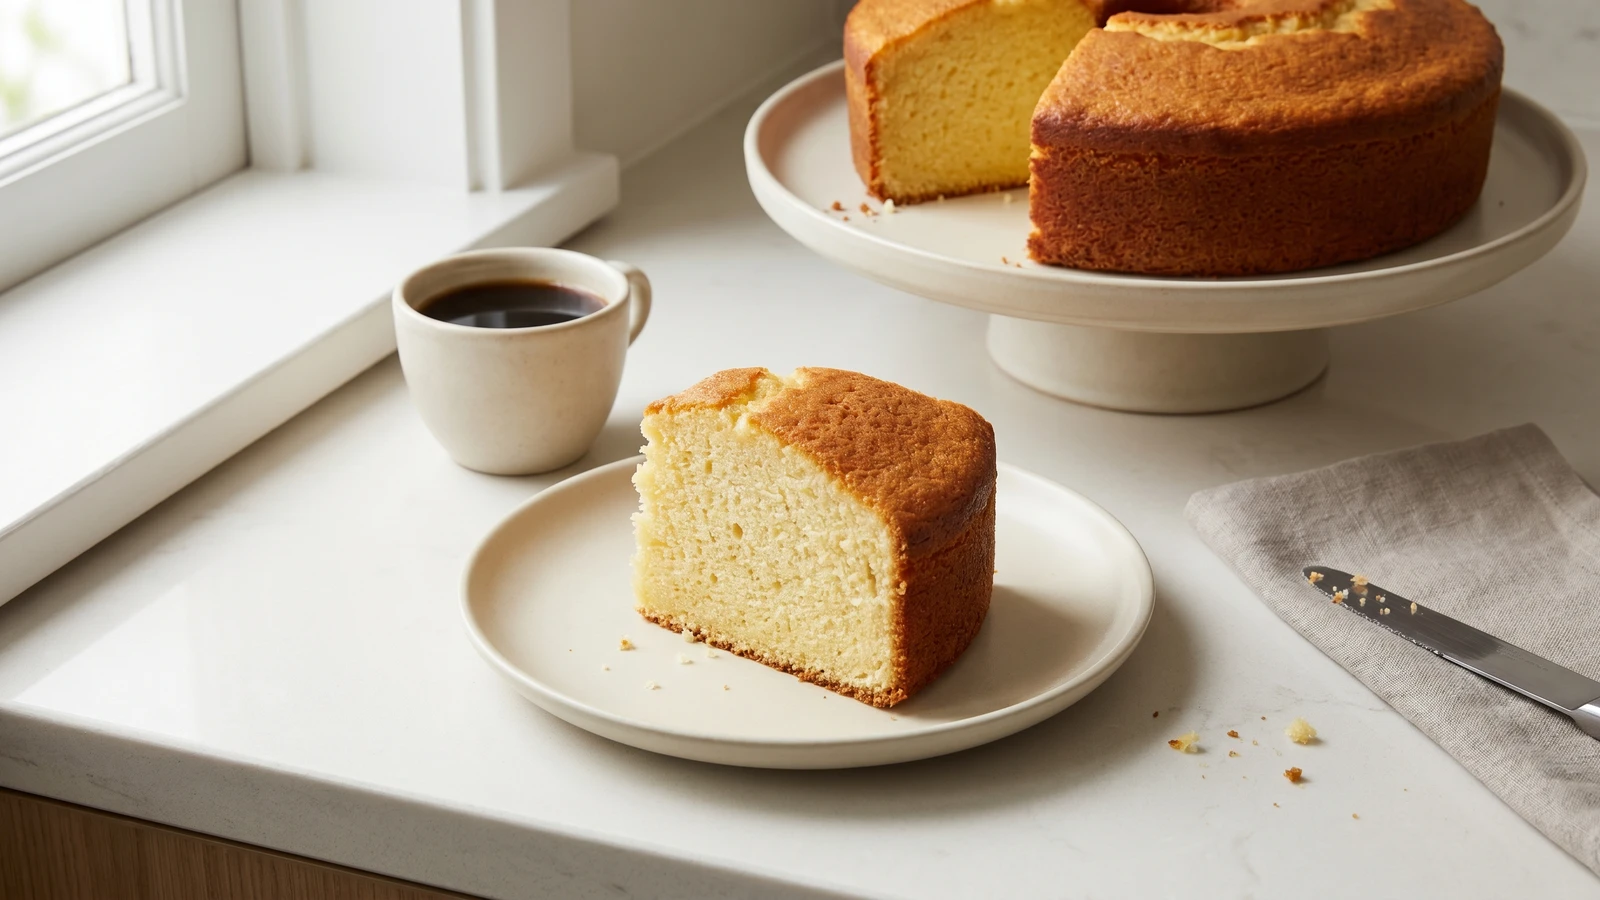
This is the kind of cake that lives on the Brazilian counter, under a clean cloth, waiting for coffee, for a child home from school, for someone pretending they only want a thin slice. It isn't the pê-efe itself, rice, beans, something savory, something green, but it belongs to the same house. The everyday plate solves lunch. This cake solves the sweet part of being home.
The method is plain on purpose. Beat the eggs and sugar until they lighten, because that gives the cake lift before the oven does its work. Add the oil and milk so the crumb stays tender. Fold the flour only until it disappears, because too much mixing wakes up the gluten and gives you a rubbery cake, and nobody's grandmother deserves that accusation.
No boxed mix. No powdered imitation of cake. Just comida de verdade: eggs, milk, flour, sugar, fat, heat, and a recipe that works. Master this one and the orange, coconut, cornmeal, and chocolate versions stop looking like mysteries. They're cousins.
Bolo simples, also called bolo de nada or bolo caseiro in many homes, became part of Brazilian everyday coffee tables through the spread of domestic ovens, wheat flour, sugar, and baking powder in the twentieth century. It is less a single regional invention than a household formula repeated across the country, often adapted with orange, cornmeal, coconut, or whatever the pantry could afford. The name bolo de vó is cultural shorthand: not a fixed recipe, but the plain counter cake associated with home, afternoon coffee, and food made to be shared.
Quantity
2 cups
spooned into the cup and leveled
Quantity
1 tablespoon
Quantity
1/2 teaspoon
Quantity
3 large
at room temperature
Quantity
1 1/2 cups
Quantity
1/2 cup
Quantity
1 cup
at room temperature
Quantity
1 teaspoon
Quantity
1 tablespoon
finely grated
Quantity
1 tablespoon
for greasing the pan
Quantity
1 tablespoon
for dusting the pan
| Ingredient | Quantity |
|---|---|
| all-purpose flourspooned into the cup and leveled | 2 cups |
| baking powder | 1 tablespoon |
| fine salt | 1/2 teaspoon |
| eggsat room temperature | 3 large |
| granulated sugar | 1 1/2 cups |
| neutral oil | 1/2 cup |
| whole milkat room temperature | 1 cup |
| vanilla extract (optional) | 1 teaspoon |
| orange or lime zest (optional)finely grated | 1 tablespoon |
| butter or oilfor greasing the pan | 1 tablespoon |
| flourfor dusting the pan | 1 tablespoon |
Heat the oven to 180°C (350°F). Grease a 10-cup tube pan or a 9-inch round cake pan with butter or oil, then dust it with flour and tap out the extra. Do this before the batter exists, because baking powder starts working once it gets wet, and a batter waiting on the counter is a cake losing its nerve.
In a bowl, whisk the flour, baking powder, and salt for 20 seconds. You want everything evenly spread before it meets the wet ingredients, because a pocket of baking powder gives you a bitter bite and a strange little hill in the cake. Anota aí: even mixing now means no surprises later.
In a large bowl, beat the eggs and sugar with a whisk or mixer until the mixture turns paler, thicker, and falls from the whisk in a soft ribbon, about 2 minutes by mixer or 4 minutes by hand. This is not showing off. You are trapping air so the cake rises light instead of sitting heavy like a brick with feelings.
Pour in the oil in a thin stream while whisking, then whisk in the milk, vanilla, and zest if using. The batter should look smooth and glossy, not separated. Oil keeps this cake tender for days, which is why it behaves so well on the counter under a cloth.
Add the dry ingredients to the bowl in two additions, stirring gently with a spatula or whisk only until the flour disappears. Stop when you see no dry streaks. If you keep beating after that, you build toughness, and then you'll say cake isn't for you. Wrong. You just argued with the flour too long.
Pour the batter into the prepared pan and smooth the top lightly. Tap the pan once on the counter to pop large air bubbles, not five dramatic times like you're angry at it. A few bubbles help the crumb stay soft. Giant bubbles make holes big enough to hide a mistake.
Bake until the top is golden, the edges pull slightly from the pan, and a toothpick inserted in the center comes out clean or with a few dry crumbs, about 35 to 40 minutes. Don't open the oven in the first 25 minutes. The cake is still setting, and a cold blast can make the middle sink.
Let the cake rest in the pan for 10 minutes, then run a thin knife around the edge and turn it out onto a rack or plate. If you unmold it straight from the oven, it's too fragile and may tear. If you wait until it's cold, the sugar can glue it to the pan. Ten minutes. The cake and a gente can both practice patience.
1 serving (about 85g)
Culinary guides, cultural storytelling, and the editorial depth that makes cooking meaningful.
Discover Culinary ExplorerChef Juliana
You think curdled milk means you ruined dessert. Good. Tonight you'll do it on purpose, with lemon, yolks, cravo, and sugar, until the pot turns into golden gruminhos.

Chef Juliana
You are not ruining the milk. You're curdling it on purpose, slowly, until sugar, eggs, cinnamon, and patience turn cheap ingredients into dessert.

Chef Juliana
You think curdled milk means failure. Not here. Milk, yolks, sugar, and lemon cook into golden curds in amber whey, a Minas sweet where the ponto teaches the whole recipe.

Chef Juliana
You already trust rice for dinner. Trust it for dessert: cook it gently with milk, coconut, and canela until each grain turns soft, creamy, and impossible to blame on lack of talent.