
Chef Freja
Bornholmske Rugkiks
Dark rye crackers from the island of Bornholm, laminated in twenty-seven butter-layered folds and scattered with caraway and sea salt. The kind of thing you keep in a tin for cheese, good butter, and cold dark beer.
A cooking platform built around craft, culture, and the stories behind what we eat.
Created by Chef Freja
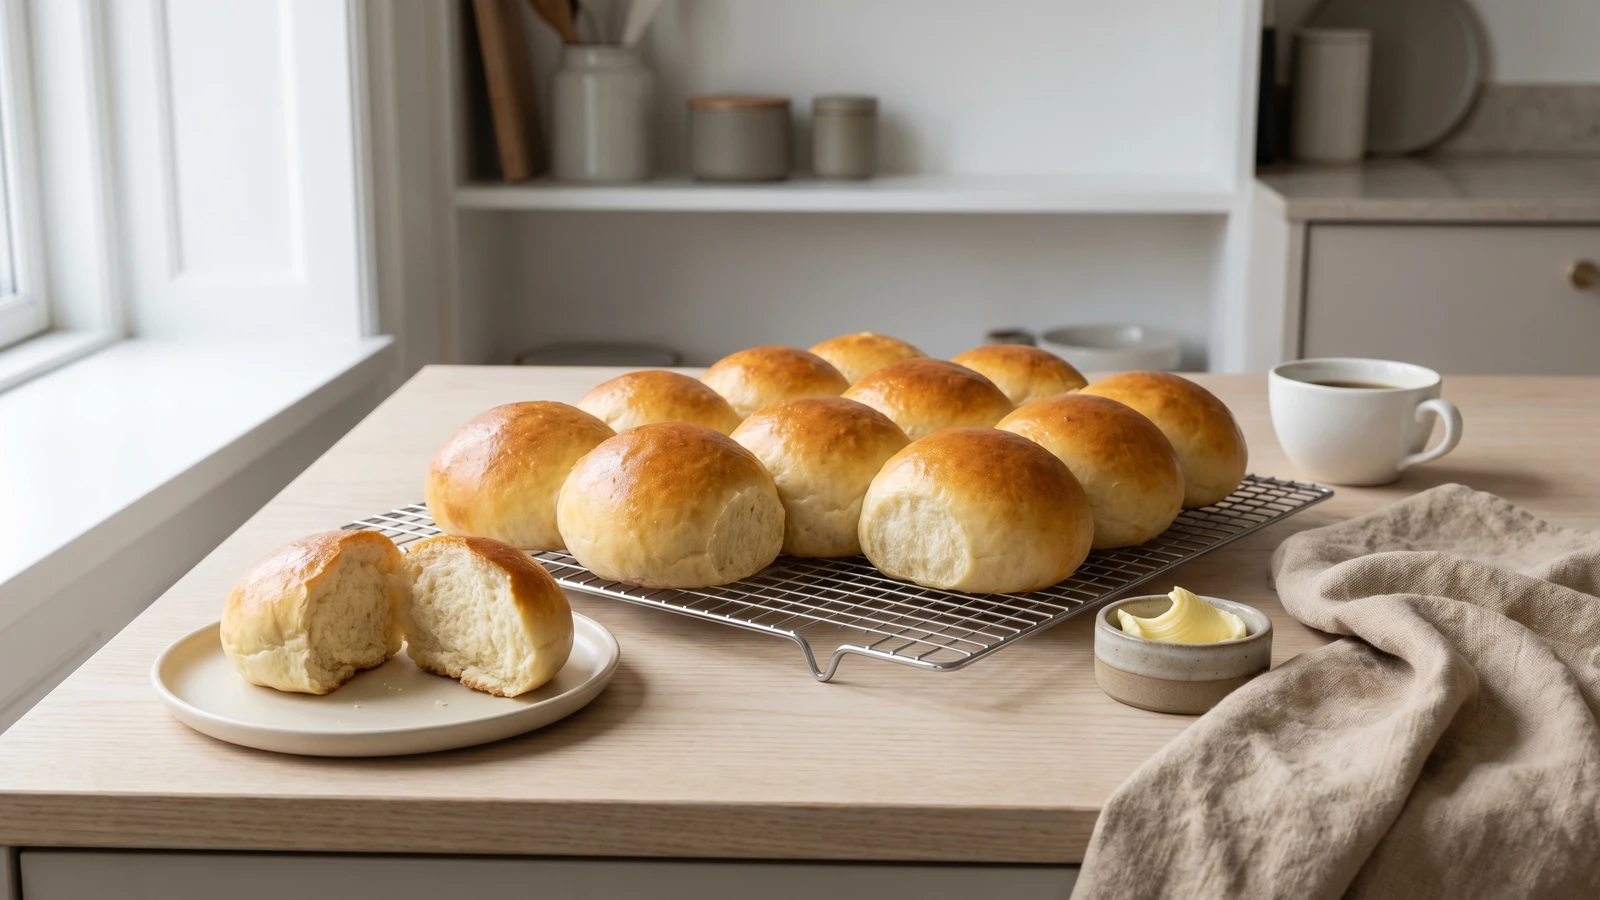
Soft, round, barely sweet Danish buns made with milk, butter, and patient yeast. The first thing most Danish children learn to bake, and the smell that means someone is home.
Every Danish kitchen has a recipe for boller. Not written down, usually. Learned by watching. The proportions live in someone's hands, in the way your mother or your grandmother measured flour by feel and knew when the dough was ready by how it pulled away from the bowl.
Boller are the most ordinary thing in Danish baking, and that is exactly why they matter. They're soft, round, barely sweet. You eat them with butter and a cup of coffee in the afternoon, or you split one open for a child's lunchbox with a slice of cheese tucked inside. They cost almost nothing to make. They take a couple of hours, most of it waiting. And the smell that fills the kitchen while they bake is the smell of home in Denmark. Not a specific season, not a holiday. Just home.
The technique is simple, but I want you to pay attention to the shaping. That's where most people lose the recipe. A loosely formed ball spreads sideways in the oven and comes out flat. A tightly shaped one holds its dome and bakes into the round, proud bolleyou're after. I'll walk you through the motion so you can feel the difference under your hands. Everything else is patience and warm milk. You'll know when they're right.
Boller in their current form became a staple of Danish home baking in the mid-19th century, when affordable wheat flour and reliable commercial yeast made enriched white bread accessible beyond the wealthiest households. Before this, most Danish bread was rye. The soft wheat bun represented something new: a small, everyday luxury for ordinary families. The tradition of the kaffebordet, the Danish afternoon coffee table where pastries and bread are set out for guests and family alike, gave boller their social purpose, and they remain the first thing most Danish children learn to bake at home.
Quantity
500g, plus extra for dusting
Quantity
50g
Quantity
7g
Quantity
1 teaspoon
Quantity
250ml
warmed to body temperature
Quantity
75g
melted and cooled slightly
Quantity
1 large
Quantity
1
beaten, for glazing
| Ingredient | Quantity |
|---|---|
| plain flour | 500g, plus extra for dusting |
| caster sugar | 50g |
| instant dry yeast | 7g |
| fine sea salt | 1 teaspoon |
| whole milkwarmed to body temperature | 250ml |
| unsalted buttermelted and cooled slightly | 75g |
| egg | 1 large |
| eggbeaten, for glazing | 1 |
Warm the milk gently in a small saucepan until it reaches body temperature. Test it against the inside of your wrist. It should feel like nothing, neither warm nor cool. Stir the melted butter into the warm milk and set it aside. If the milk is too hot, it kills the yeast. If it's too cold, the yeast stays dormant and the dough takes hours longer than it should.
In a large bowl, combine the flour, sugar, salt, and yeast. Keep the salt and yeast on opposite sides of the bowl when you add them. Salt slows yeast if they sit together. Make a well in the centre and pour in the milk and butter mixture, then crack in the egg. Stir with a wooden spoon until the dough comes together into a rough, shaggy mass, then turn it out onto a lightly floured surface and knead for eight to ten minutes. You're building the gluten that gives the boller their soft, springy crumb. The dough will start sticky and reluctant. Keep going. It will smooth out, become elastic, and start to feel alive under your hands.
Shape the dough into a smooth ball and return it to the bowl. Cover with a damp tea towel and leave it somewhere warm for about an hour, until it has doubled in size. The kitchen counter is fine. Near a radiator is better on a cold day. Don't rush this. A slow, full rise is where the flavor develops. Fast yeast gives you volume but no character. When the dough has doubled, press two fingers into the surface. If the indentations hold and the dough doesn't spring back, it's ready.
Turn the risen dough out onto a lightly floured surface and press it gently to release the large air bubbles. Divide it into fourteen equal pieces. A kitchen scale makes this easy; each piece should weigh about 65 grams. Now shape each piece into a smooth, tight ball. Cup your hand over the dough and roll it in a circular motion against the counter, tucking the edges underneath with your fingertips. The surface should be taut and seamless. This is the step that matters most. A loosely shaped bolle spreads flat in the oven. A tight one holds its dome and bakes round and proud.
Place the shaped buns on two baking sheets lined with parchment paper, leaving a few centimetres between each one. They will grow. Cover loosely with a damp cloth and let them rise for thirty-five to forty minutes. They should look visibly puffier and feel soft and yielding when you touch them lightly with a fingertip. Don't let them overprove. If they rise too long, the structure weakens and they collapse in the oven instead of holding their shape.
Heat the oven to 200°C. Brush the tops of the buns with the beaten egg, using a light hand. You want a thin, even coat that gives them a golden sheen, not a thick layer that pools in the creases. Bake for twelve to fifteen minutes until the tops are a deep, even gold and the buns sound hollow when you tap their bottoms. That hollow sound means the interior is baked through. If the tap sounds dense and dull, give them two more minutes. Transfer to a wire rack and let them cool for at least ten minutes before you eat one. They're best slightly warm, when the crumb is still soft and the crust gives way with the gentlest pull.
1 serving (about 65g)
Culinary guides, cultural storytelling, and the editorial depth that makes cooking meaningful.
Discover Culinary ExplorerChef Freja
Dark rye crackers from the island of Bornholm, laminated in twenty-seven butter-layered folds and scattered with caraway and sea salt. The kind of thing you keep in a tin for cheese, good butter, and cold dark beer.

Chef Freja
The soft Danish white loaf with a milk-brushed crust and blue poppy seeds that belongs on every weekday breakfast table. Simple dough, gentle rise, toast and butter and jam.

Chef Freja
Danish whole wheat rolls made with grahamsmel, ready in just over an hour. The weekday bun that fills lunch boxes, sits beside soup, and smells like a kitchen where someone cares.

Chef Freja
Danish whole wheat bread from coarse grahamsmel, honey-sweetened and golden, baked in a loaf pan and sliced for school lunches, open sandwiches, and the quiet mornings that hold a household together.